A Cantonese Bonfire & A Hokkien Opera

A Hokkien Opera: Olympus Pen E-P3, ISO 200, f4.5, 1/60 sec

A Hokkien Opera: Olympus Pen E-P3, ISO 200, f4.5, 1/60 sec

I stumbled upon two interesting roadside events last night. Although both were held on the same street, they turned out to be distinctly different rituals. The first one is a Cantonese prayer session dedicated to the deity and dwellers from the netherworld, culminating with a bonfire.

The second one is part of a Hokkien religious festival celebrating the birthday of another Chinese deity. A brave opera troupe performed to a near empty house. Sadly, the Chinese opera is a dying tradition and art-form in Malaysia, making it all the more important to document.

But since this video is more of a real world test of the new Olympus Pen E-P3, the duration is kept brief. The E-P3 was paired with the new and fast 12mm (24mm in old money) f2.0 lens. The bonfire scene was actually quite dark but the camera still locked focus very quickly.

Down the street, the opera presented a different challenge. The stage lights induced visible flickering on the video. I had to roll the shutter speeds via the thumb-wheel until the ‘pulsing’ effect became minimised. Back stage, lighting was very dim but the E-P3/12mm f2 combo handled it with ease.

Sound was recorded with the on-board microphone and camera was handheld. Video footage captured in Full HD 1980 x 1080i resolution at 30 fps AVCHD.
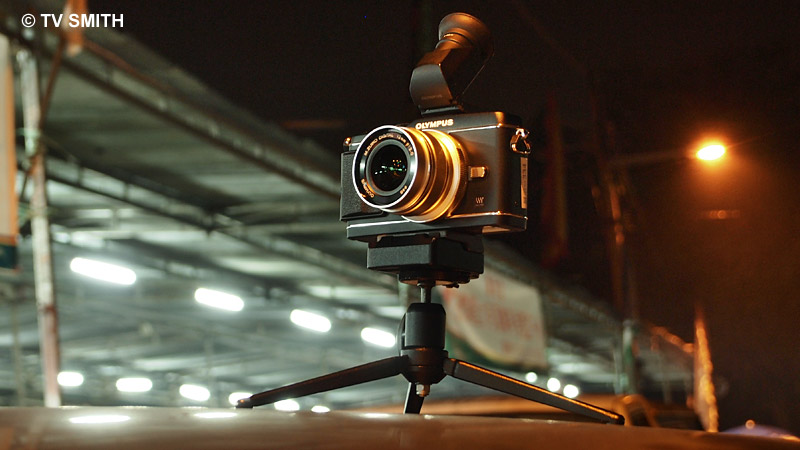
Nocturnal Warriors: Olympus E-P3 & M.ZD 12mm f2.0 & VF-2 Finder on night duty

Nocturnal Warriors: Olympus E-P3 & M.ZD 12mm f2.0 & VF-2 Finder on night duty

Full HD AVCHD is normally not easy to edit in real time, even with the very tolerant Edius Neo. However, with my new editing gig comprising an i7 CPU with 16g hyper ram and dual Corsair Force 3 SSDs, the AVCHD bully is finally beaten into a pulp.

All I need to do now is to drop all the AVCHD files from the camera directly onto the Edius timeline and it is good to go. No more conversions and messy intermediate files. The NLE will not blink, even with multiple tracks, complex 3D effects and transitions running together in real time 🙂

In this clip, only audio/video dissolves and titles were added. Output was rendered into 1920 x 1080 WMV format. Variable bit rate encoding was used for a manageable 140mb upload file size. For online screening, it is still about finding the right balance (or compromise) between size and quality…

Look out for more real-world tests, images and videos from the new Olympus Pen E-P3 and the recently introduced Digital Zuiko lenses here!
Why A PenPal Is Important, Especially In This Day And Age

Once upon a time, a long long time ago, there was this hobby where people exchanged letters with pen pals from around the world. Hand-written replies can take months to reach one another but it was worth the wait. There was a certain thrill in seeing an envelope with a strange stamp sticking out of the letter box. Nice as it was, the advent of e-mail and instant messaging soon put the snail mail out to pasture.

Today, not only can people communicate with random strangers at the speed of light, they can also share pictures just as quickly on social networking media via their phones. But what if you hate the quality or the lack of controls on a phone-cam or cam-phone?

Enter the Olympus PenPal. It is an optional accessory that slots into the hot shoe of any Olympus camera equipped with the new accessory port. The device transfers photos from the camera directly to a compatible phone by Bluetooth. From the phone, the pics can then be uploaded to a photo-sharing account online.

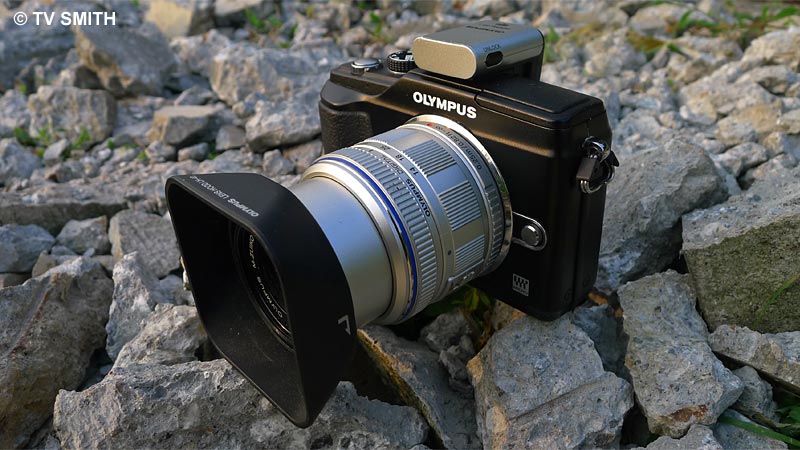
Rock Solid. PenPal on the Pen

Rock Solid. PenPal on the Pen

Currently, there are few practical options for photographers wanting to send better quality photos out of a standalone camera, on location. With the PenPal, I can now upload pictures from my Olympus Pen camera without carrying a larger intermediate device such as my notebook or iPad.

For this review/test, I paired the PP-1 with a Samsung Galaxy S Android phone. I no longer need to shoot twice with two different devices when covering a news event that requires a live update. The original jpeg or raw files remain untouched in the camera while selected shots are resized and uploaded to my Twitpic account.

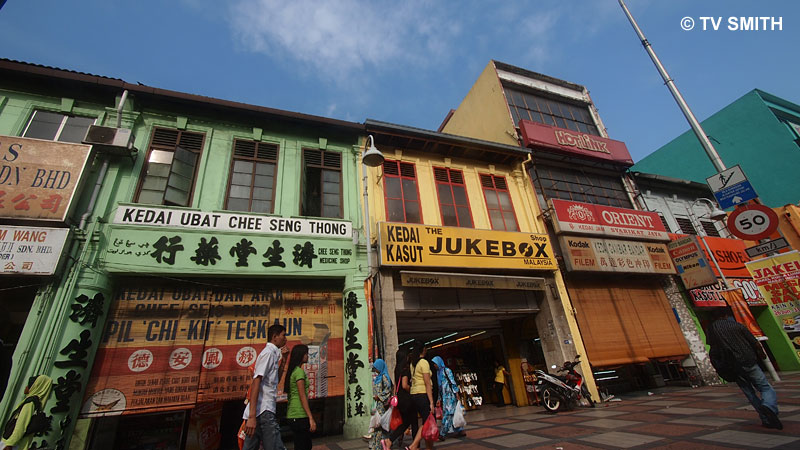
Ultrawide Chow Kit uploaded on location by PenPal

Ultrawide Chow Kit uploaded on location by PenPal

Get the bigger picture. To see the full-size Twitpic of above photo, go here

Initial (one-time) set-up was easy and intuitive enough. I didn’t even bother to read the instructions. After pairing, switch the camera to playback mode and select any picture shown on the LCD screen to export. I set the dongle to automatically reduce the export file size to 1980 by 1080 pixels. Selected images from the camera can also be copied and stored on the PP-1 (and vice-versa). And guess what? Unlike the (much more expensive) VF-2 viewfinder, there is a lock to prevent it from falling off accidentally.

For people who were put off by the messy execution of earlier BT devices, you may like to know that it is now entirely painless. In fact, it is amazingly seamless and robust. I didn’t even need to switch off the camera whenever I swapped the VF-2 for the PP-1. Every time I mount the PenPal, it communicates with the phone correctly, requiring no user intervention. The last thing you want to do under bright sun is to fiddle with settings repeatedly.

Any disadvantages? Users of other optional camera accessory such as a flash, viewfinder or microphone will need to swap devices each time. Since you are doing it on the fly, you will have to get used to seeing your own full size pictures later, after the world has seen it in all its glory 🙂

Happy Fourth of July to my American key pals!

Art Filtered-Lazy-Hazy-Sunday-Sunset uploaded from the hilltop

Art Filtered-Lazy-Hazy-Sunday-Sunset uploaded from the hilltop

Get the bigger picture. To see the full-size Twitpic of above photo, go here

The Olympus PenPal PP-1 works with the new trio of E-P2, E-PL3 and E-PM1 cameras. It also works with the earlier Pen E-P2, E-PL2 and XZ-1. Reportedly, the PP-1 will not work with an iPad or iPod due to incompatible protocol. It works with most (but not all) Android, Nokia Symbian and Blackberry phones. Download compatibility chart PDF to check. I am testing a demo unit and Olympus Malaysia has yet to confirm availability nor price in Malaysia. Will update here when I have new info. 

Olympus E-P3 Image Samples

Page 1: ISO 200 to ISO 500 | Page 2: ISO 640 to  ISO 12800

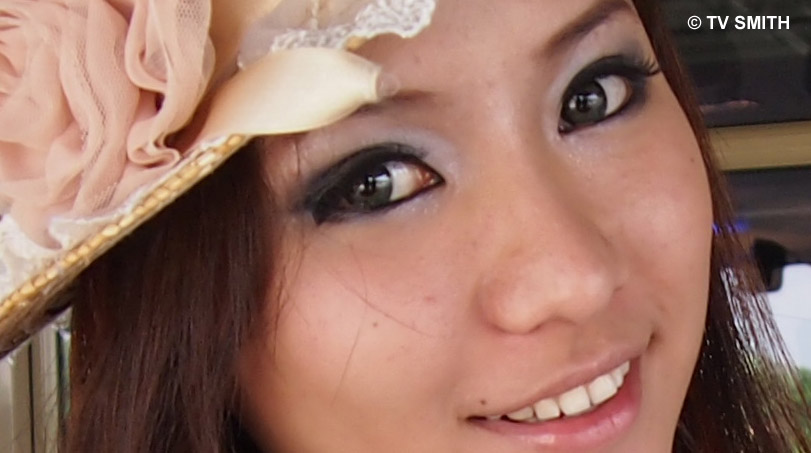
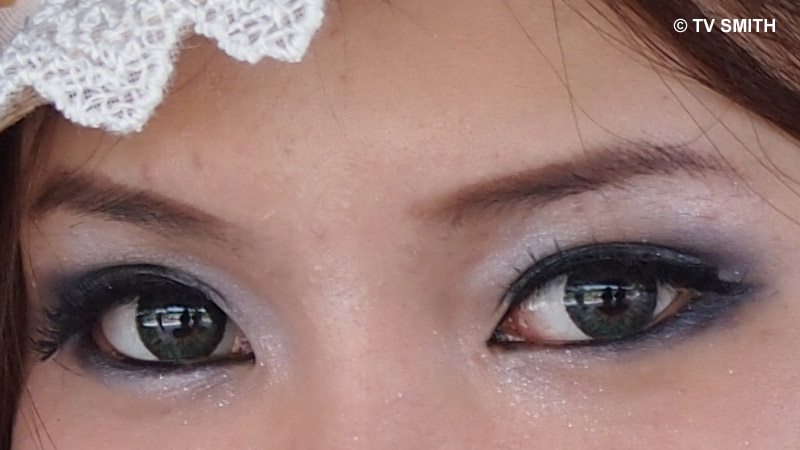
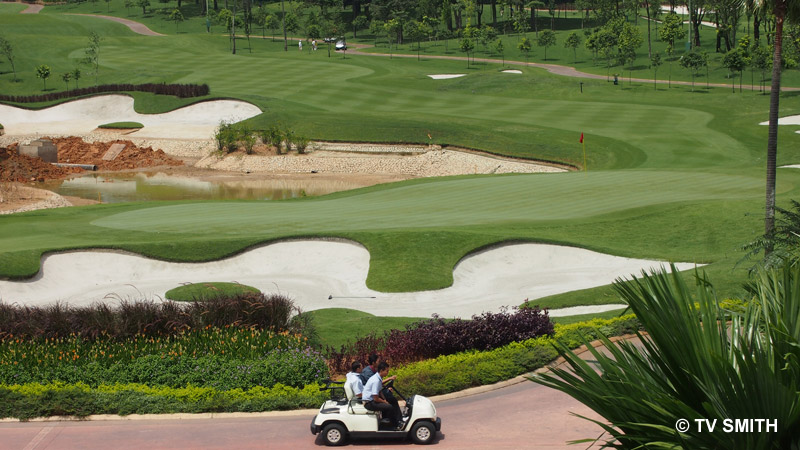
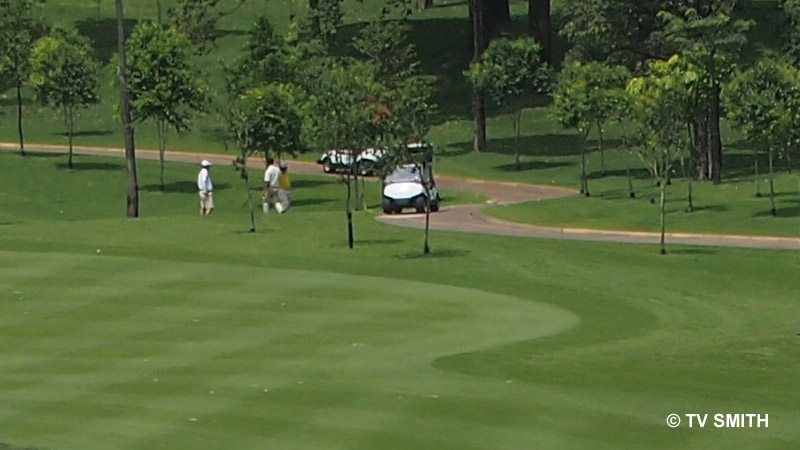
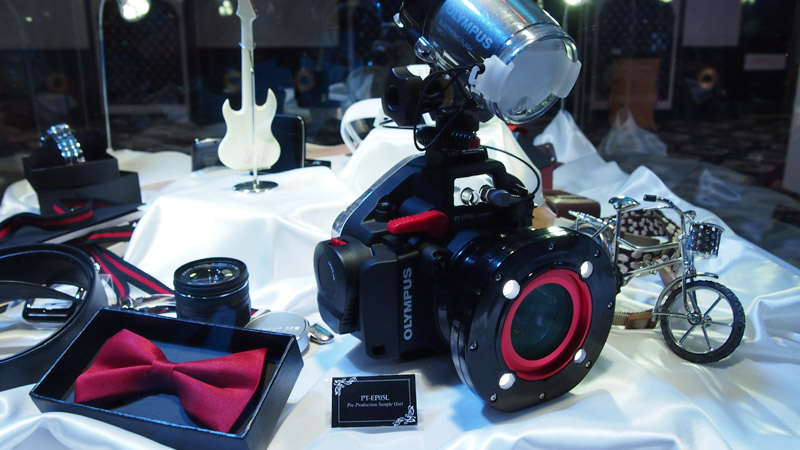
As promised, here are some sample images with 100% crops from the new Olympus E-P3 taken across various ISO settings. The camera was in P mode with all settings at factory defaults and firmware version 1.0. The test camera was fitted with the new kit lens. No adjustments were made to the original jpgs in post except resizing/cropping and watermarking. All pictures saved at 70% compression for web…

See also a sample video from the E-P3 & 12mm f2.0 lens here.

Olympus E-P3, ISO 200, f4, 1/100 sec

Olympus E-P3, ISO 200, f4, 1/100 sec

Olympus E-P3, ISO 200, f4, 1/100 sec (100% crop)

Olympus E-P3, ISO 200, f4, 1/100 sec (100% crop)

Olympus E-P3, ISO 200, f5, 1/80 sec

Olympus E-P3, ISO 200, f5, 1/80 sec

Olympus E-P3, ISO 200, f5, 1/80 sec (100% crop)

Olympus E-P3, ISO 200, f5, 1/80 sec (100% crop)

Olympus E-P3, ISO 200, f10, 1/320 sec

Olympus E-P3, ISO 200, f10, 1/320 sec

Olympus E-P3, ISO 200, f10, 1/320 sec (100% crop)

Olympus E-P3, ISO 200, f10, 1/320 sec (100% crop)

Olympus E-P3, ISO 400, f5 1/60 sec

Olympus E-P3, ISO 400, f5 1/60 sec

Olympus E-P3, ISO 400, f5 1/60 sec (100% crop)

Olympus E-P3, ISO 400, f5 1/60 sec (100% crop)

Olympus E-P3, ISO 500, f5.6 1/125 sec

Olympus E-P3, ISO 500, f5.6 1/125 sec

Olympus E-P3, ISO 500, f5.6 1/125 sec (100% crop)

Olympus E-P3, ISO 500, f5.6 1/125 sec (100% crop)

Olympus E-P3, ISO 500, f7.1 1/250 sec

Olympus E-P3, ISO 500, f7.1 1/250 sec

Olympus E-P3, ISO 500, f7.1 1/250 sec (100% crop)

Olympus E-P3, ISO 500, f7.1 1/250 sec (100% crop)

All pictures photographed with the Olympus Pen E-P3 by & © TV Smith

Tip: You can view larger versions of the images here, gallery-style. When the page finishes loading, click on any picture. Navigate via the arrows on each side of the frame.

Continue with Next Page (ISO 640 to ISO 12800)…